

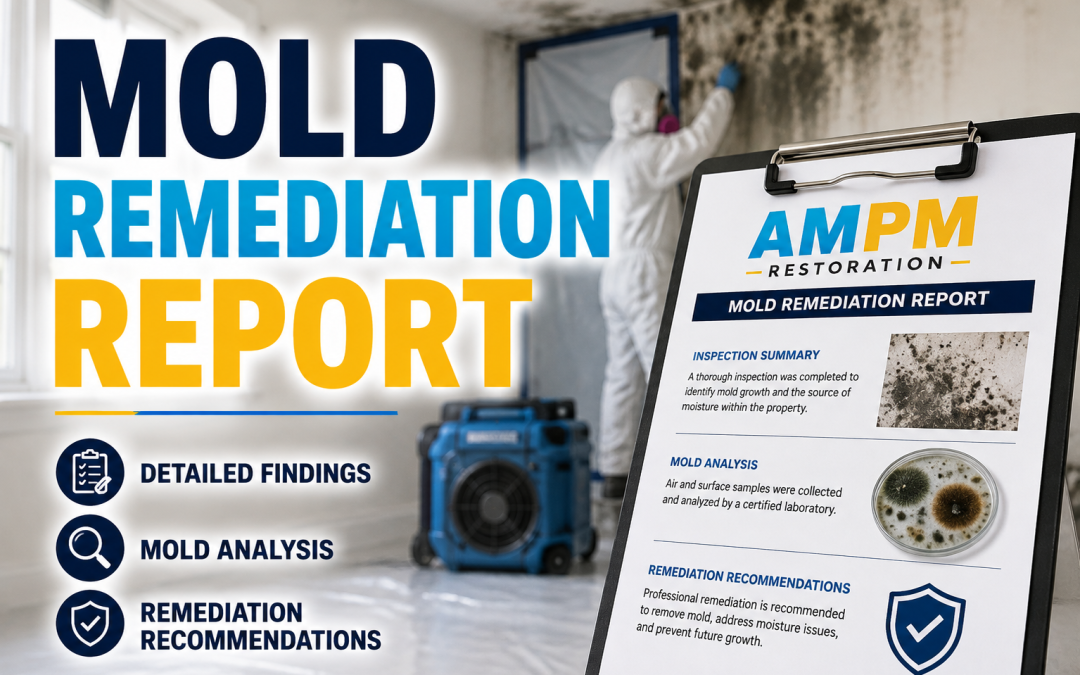
Mold Remediation Report Guide
Maria noticed the smell before she saw the damage. Two weeks after a July thunderstorm soaked the roof decking above her Bradenton home, a closet began to smell musty. She called three contractors and received three different quotes, a one-page moisture map, and a remediation bid with no testing attached. Her practical question was simple: what paperwork proves the mold problem has been solved?
A complete mold remediation report answers that question with documented observations, measurements, laboratory findings, photographs, work details, and post-remediation verification. It also gives homeowners a defensible record for insurance discussions, repairs, resale disclosures, and disagreements about unfinished work. The report isn’t just a technical file. It connects the original moisture event to the completed repair and shows what was checked afterward.
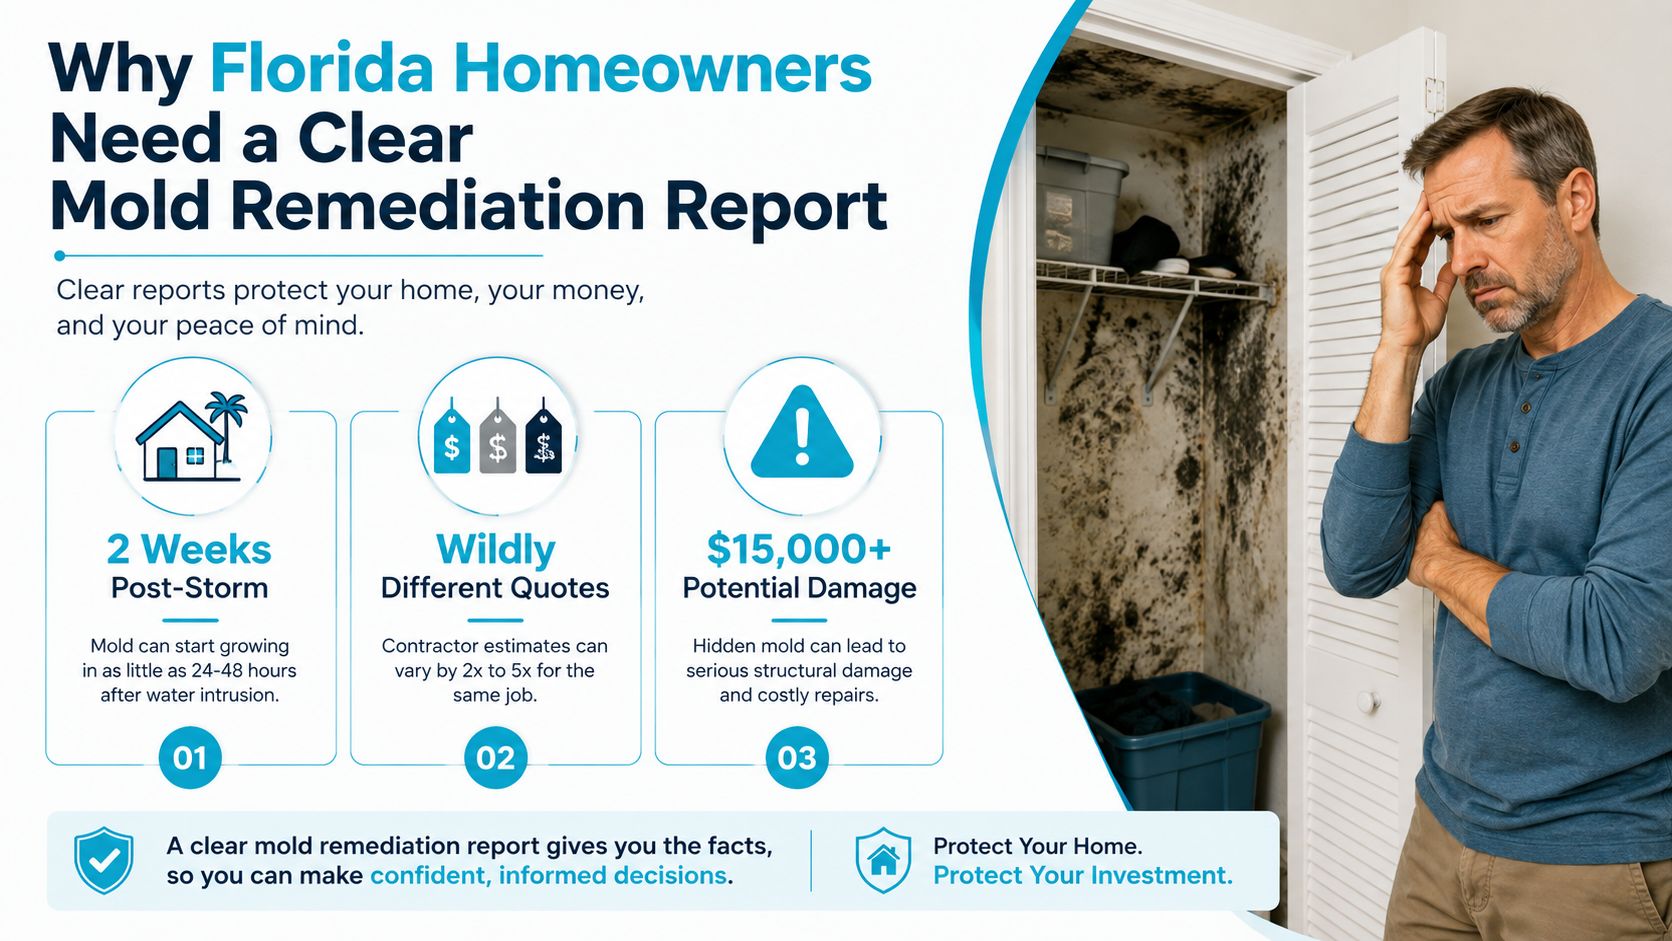
Why Florida Homeowners Need a Clear Mold Remediation Report
Florida’s Suncoast brings recurring roof leaks, tropical downpours, air-conditioning condensation, and prolonged indoor humidity. Those conditions make a musty odor easy to dismiss until drywall, insulation, framing, or contents have been affected. The CDC guidance on mold and home humidity says indoor humidity should be kept no higher than 50% all day, while the EPA’s mold and moisture guide recommends keeping humidity below 60%, ideally between 30% and 50%.
Maria’s three quotes didn’t answer the same question. One contractor priced visible cleanup. Another proposed opening walls. The third included testing but didn’t explain the sampling locations or what would count as clearance. Without a complete report, she couldn’t tell whether the contractors had found the same source, measured the same materials, or defined the same finished result.
The document protects more than the building
The World Health Organization’s indoor air quality guidance concluded that occupants of damp or mouldy buildings can face up to a 75% greater risk of respiratory symptoms and asthma, and estimated that 13% of childhood asthma in developed countries in the WHO European Region could be attributable to damp housing. The WHO guideline available through the CDC archive also emphasizes avoiding or minimizing persistent dampness and microbial growth on interior surfaces.
That doesn’t mean a lab result alone diagnoses an occupant or determines an insurance payment. It does mean moisture control and careful documentation deserve serious attention. A report records what was present, what caused it, what the contractor removed or cleaned, and what remained after the work.
Why paperwork matters during claims and closing
Insurance carriers may request written proof of the damage, the contamination conditions, the scope of work, and the final condition. Coverage depends on the policy, the cause of loss, exclusions, endorsements, and the facts of the claim, so homeowners shouldn’t assume that a report guarantees reimbursement. Florida licensing and disclosure obligations can also affect how mold-related services are represented, including requirements associated with Florida Statute 468.8419 and policy-specific Citizens Insurance mold endorsements.
A signed, dated report can help sellers explain a past issue at closing and help buyers understand what was corrected. It can also show where a contractor stopped if the project was interrupted.
If your home is in Bradenton, Sarasota, Lakewood Ranch, Saint Petersburg, Tampa Bay, or another Gulf Coast community, start with the humidity and moisture conditions that created the risk. AMPM’s explanation of how humidity causes mold in Florida homes provides helpful local context, but the property-specific report should contain the actual measurements and findings for your address.
What a Mold Remediation Report Is
A complete mold remediation report lets someone who never visited the property understand the moisture source, affected areas, work boundaries, sampling process, and post-remediation conclusion. For a Suncoast home, that record should connect humid conditions and water intrusion to the work performed, then show whether the property was ready for repair, occupancy, or insurance review.
Homeowners often receive several documents and treat them as one package. Each serves a different purpose. An inspection describes observed conditions. An estimate sets out proposed labor and materials. Post-remediation verification records the condition after the work. The full report preserves the relationship between those documents and the evidence supporting each conclusion.
Four documents with different jobs
A visual inspection letter may come from an inspector or mold assessor after a site visit. It can describe odors, visible growth, water staining, or high moisture levels, while leaving the remediation scope and post-work findings for other records. A proposal or estimate comes from the contractor offering to perform the work. It explains the planned scope and price, but completion requires separate documentation.
A clearance certificate has a narrower role. It generally records the result of a final inspection or testing event. Without the original findings, sample locations, laboratory information, photographs, and moisture records, a certificate can be difficult to interpret or connect to an insurance claim.
| Document | Who Issues It | What It Proves | Carrier-Accepted? |
|---|---|---|---|
| Inspection letter | Inspector or mold assessor | Conditions observed at the inspection | May support a claim, subject to policy requirements |
| Estimate or proposal | Remediation contractor | Proposed scope and price | May support pricing review, but doesn’t prove completion |
| Clearance document | Assessor, inspector, or qualified verifier | Findings at post-remediation verification | May support completion, subject to policy requirements |
| Mold remediation report | Project team, with inspection, laboratory, and completion records | The documented path from findings through completed work and verification | Stronger claim documentation when complete and properly signed |
Florida standards and professional responsibility
For a Suncoast property, ask which professional framework the report follows. The ANSI/IICRC S520 standard applies to mold remediation in residential, commercial, and institutional buildings and describes procedures and precautions, as explained in the IICRC S520 standard information. Water-loss drying may also reference IICRC S500. Florida Department of Business and Professional Regulation licensing requirements matter when regulated mold assessment or remediation services are involved.
The report should name the applicable standard or guideline and explain what “clear” means for that project. The AMPM explanation of mold assessment versus mold remediation helps separate investigation from corrective work. Before signing, confirm whether you hold an assessment, estimate, clearance document, or complete project record, and check that the evidence supports the stated completion result.
The Core Sections Every Complete Report Should Include
A credible report gives every important conclusion a trail of evidence. Texas post-remediation rules provide a useful example of the level of detail expected in a formal post-remediation assessment, including worksite observations, exact measurement and sample locations, temperature, humidity, material-moisture data, laboratory results, photographs, and a clear pass or fail statement. The Texas post-remediation assessment rule is not a substitute for Florida requirements, but it illustrates why a one-page summary is often inadequate.

What to look for on each page
-
Cover page: It should identify the property address, inspection or project date, company information, and applicable Florida credentials. If the address is missing or inconsistent, the report may not clearly belong to your claim.
-
Executive summary: This is the plain-English overview. It should state where the problem was found, the suspected source, the work completed, and the final status. A summary that says only “mold was remediated” doesn’t explain the conclusion.
-
Inspector qualifications and custody records: The report should identify who inspected the property, who collected samples, and which laboratory analyzed them. Chain-of-custody records show how samples were labeled, transferred, and received. Missing custody paperwork weakens confidence in the laboratory section.
-
Visual inspection and photo log: Photos should correspond to rooms and locations described in the text. Moisture meter readings should identify the material and precise area tested. A photo with no location or date is difficult to use during an insurance review.
-
Laboratory results: Air samples may include spore-trap results, while surface or dust methods provide different types of information. ERMI dust analysis should not be treated as a universal pass or fail test. The report should explain the method, limitations, sample location, and interpretation.
-
Moisture and thermal survey: A moisture map should show readings in affected and comparison areas. Thermal imaging can identify temperature patterns that warrant investigation, but it doesn’t replace direct moisture measurement. Missing readings leave the active-moisture question unanswered.
-
Source and root-cause analysis: The report should connect the damage to a specific building condition, such as a roof leak, HVAC condensate problem, or failed window flashing. “High humidity” may be part of the environment, but it isn’t always the complete source.
-
Scope and remediation actions: Look for containment zones, negative-air practices, HEPA filtration, material removal or cleaning decisions, drying work, and repairs. If the scope is vague, you can’t compare the proposal with the work performed.
-
Completion and certification: The final pages should include post-remediation observations, sampling results when used, supporting photos, and a signed certification or clearance statement. The professional mold inspection service information can help you understand what an inspection provider may document, but your own report must identify the actual work and findings at your property.
A missing section doesn’t automatically prove poor workmanship. It does create a question you should resolve before accepting the report as complete.
Reading a Sample Report Excerpt Like a Pro
Consider this fictional training excerpt from a Bradenton single-family home:
- Bedroom closet wall moisture reading: 22%
- Indoor air sample: 4,800 Stachybotrys spores/m³
- Outdoor control sample: 580 spores/m³
- ERMI dust score: 8.2
These figures are examples for learning how to read a report, not verified findings from a real property. They also shouldn’t be used as a stand-alone diagnosis or universal health threshold. Public-health guidance explains that reliable quantitative mold exposure limits aren’t currently feasible, and no health-based threshold values can be recommended for acceptable indoor mold levels, as discussed in the New York State Toxic Mold Task Force report.
Start with the location and method
The 22% moisture reading matters because it was taken in a specific closet wall, not because one number can determine the whole remediation decision. Ask whether the reading came from drywall, wood framing, or another material, which instrument was used, and whether the device was checked or calibrated. The surrounding readings should show whether the moisture is localized or widespread.
The indoor and outdoor air results should be read together. The sample locations, airflow conditions, volume collected, laboratory method, and chain of custody all affect interpretation. A higher indoor result than the outdoor control can support further investigation, but it doesn’t establish a universal safe or unsafe boundary by itself.
ERMI dust analysis uses settled dust and answers a different question from an air sample. An ERMI score of 8.2 shouldn’t be interpreted without the laboratory’s method, explanatory notes, sample location, and professional context. Treat the result as one part of the building assessment, alongside moisture, visible conditions, odors, occupancy history, and the suspected source.
Three document checks before you sign
- Chain of custody: Confirm that sample identifiers, collection locations, dates, and laboratory receipt details match the report.
- Equipment records: Ask for instrument identification and calibration or verification information where applicable.
- Photo consistency: Compare photo timestamps and room descriptions with the stated inspection date and sample map.
Ask your inspector: What does each sample measure? Why was each location selected? Which result supports the moisture-source conclusion? What limitations apply to the test? What specific observations support the final recommendation? If the answers aren’t in the report or its attachments, request clarification before authorizing work.
Clearance Standards and Post-Remediation Verification
A space can look clean and still require additional verification. Visual inspection is important, but it doesn’t establish that hidden moisture has been corrected or that post-work conditions are consistent with the surrounding building. The guidance on clearance testing after mold remediation describes commonly used industry expectations, including indoor spore results returning to background or outdoor control levels and wood moisture content falling below about 16% before a space is considered dry.
The ANSI/IICRC S520 framework is commonly used to organize remediation procedures and verification. Some projects also reference other baseline approaches, including ANSI SQS 2018. Ask the assessor to name the protocol used and explain how it applies to your building, rather than accepting an unexplained “pass.”
A defensible five-part check
- Visual review: No remaining visible growth, debris, or unaddressed contamination should appear in the remediated area.
- Moisture measurements: Readings should document dry materials and identify the exact locations tested.
- Thermal imaging: Where appropriate, imaging can help screen for temperature patterns suggesting concealed moisture.
- Air or surface sampling: The assessor should explain the sampling plan, controls, laboratory method, and interpretation.
- Final statement: The report should contain a signed conclusion describing whether the documented criteria were met and identifying any limitations.
| Verification Metric | Passing Standard | Failed or Incomplete |
|---|---|---|
| Visual condition | Remediated areas show no remaining visible growth or residue requiring correction | Visible growth, debris, or inaccessible areas are not addressed |
| Material moisture | Wood is below about 16%, with the tested material and locations identified | Moisture remains elevated, or readings aren’t documented |
| Air comparison | Indoor results are interpreted against an outdoor or background control | No control sample, unexplained difference, or missing interpretation |
| Sampling records | Locations, methods, dates, laboratory results, and custody records are attached | Results appear without maps, methods, or custody documentation |
| Final conclusion | Signed pass or fail statement explains the evidence | Contractor says “looks good” without formal verification |
Attach clearance documentation to the original report. Don't accept a final invoice that omits the testing or sign-off promised in the scope. For a broader look at indoor sampling options, review air quality testing for mold, then ask who performs the verification and whether that person is independent of the remediation decision where required by the project or policy.
Using Your Report for Insurance Claims and Repairs
After a Suncoast water event, an adjuster needs a timeline-connected record that ties each invoice line to a documented area and task. Organize the file around the leak, initial observations, mitigation, remediation, repairs, and final verification. This sequence lets the carrier compare what happened, what the contractor did, and what remains covered under the policy.
Assemble the claim file
- Date-stamped photos: Include the leak, visible damage, opened assemblies, removed materials, drying equipment, and completed areas.
- Laboratory certificates: Attach laboratory reports and chain-of-custody forms to the sample map and findings.
- Itemized invoices: Separate labor, materials, equipment, testing, disposal, and repairs when those categories apply.
- Moisture logs: Preserve initial and final readings, the tested material, instrument used, and exact location.
- Communication records: Keep claim numbers, adjuster messages, approvals, reservations of rights, and requests for documentation together.

Coverage depends on the policy and cause of loss. A sudden pipe burst may be handled differently from mold linked to long-term humidity, maintenance issues, or an excluded condition. Florida legislation and policy endorsements, including references homeowners may encounter under SB 2-A, do not replace the policy language. The Mitchell-Joseph Insurance Agency claim advice can help organize questions and supporting records before speaking with the carrier.
Use the scope to control repairs
Compare the report's affected-area map with the drywall replacement boundary. Confirm whether HVAC components, insulation, cabinets, contents, and ductwork were included or excluded. If a subcontracted hygienist performed assessment or verification, request the applicable Florida Mold Assessor license information.
For water-loss documentation, review this water-damage insurance claim guidance. Common gaps include missing pre-work photos, unsigned clearance paperwork, and estimates that combine labor with materials. Keep the completed report digitally with the claim file, since it can support later storm documentation, maintenance records, and resale disclosures. Do not sign off on repairs until the documented scope, invoices, and verification records agree.
Next Steps for Suncoast Homeowners and Property Managers
Treat the report as an ongoing maintenance record. Keep the final report, laboratory records, chain-of-custody forms, photographs, and invoices together for at least five years if that fits your recordkeeping and insurance needs. After remediation, arrange a follow-up review under normal household conditions, not immediately after equipment has dried the area.
Suncoast verification checklist
- Follow-up review: Schedule a 30-day inspection and compare its observations with the final report. Ask the reviewer to explain any new odor, staining, elevated moisture, or visible growth.
- Humidity control: Keep indoor humidity below 60% with air conditioning or a dehumidifier. Follow the EPA moisture recommendations and keep a record of recurring readings.
- Water-event response: Dry wet materials within 24 to 48 hours after a leak or spill when possible. Record the source, affected room, materials involved, and drying actions.
- HVAC maintenance: Inspect coils, drain pans, and condensate components regularly, particularly during sustained cooling demand. A clean-looking room can still receive moisture from a neglected HVAC system.
- Storm documentation: Photograph new intrusion and record the date, affected room, visible conditions, and moisture readings within 24 hours. Save weather or repair records with the claim file when relevant.
- Contractor screening: Pause before approving work if the provider will not supply clearance documentation, sample locations, or a written scope tied to the findings.
Suncoast homes face repeated moisture exposure from summer humidity spikes between June and September, afternoon thunderstorms, and salt-air corrosion near Anna Maria and Siesta Key. Those conditions can stress roof assemblies, flashing, windows, and HVAC systems. Property managers should give tenants a clear reporting route for odors, leaks, and condensation, then preserve the notice and response dates. A short email trail can help show whether a condition was reported, investigated, and corrected.
Use the report as a decision check before signing final paperwork. The affected-area map should match the repair boundary, the moisture readings should identify materials and locations, and the post-remediation conclusion should state what was inspected and whether further action is recommended. If laboratory numbers, photographs, or moisture readings are unclear, request an explanation or second-opinion review. AMPM Restoration Services is one option for restoration and claim-support assistance at AMPM Restoration Services.
Frequently asked questions
What should a mold remediation report include?
It should document pre-remediation conditions, worksite observations, measurement and sample locations, temperature and humidity, material moisture, laboratory results, photographs, remediation actions, post-remediation findings, and a clear signed conclusion.
Is a mold inspection letter the same as a remediation report?
No. An inspection letter describes conditions observed during an assessment. A remediation report connects those findings to the work performed and the post-remediation verification.
Does a laboratory result prove that my home is safe?
No single laboratory result defines overall safety or establishes a universal health-based mold limit. Review results alongside moisture conditions, visible growth, building history, sample method, occupant concerns, and professional conclusions.
What moisture level should I look for after remediation?
Industry guidance commonly uses wood moisture below about 16% as part of a dry-condition assessment. The report should identify the material and exact locations tested rather than list an isolated number.
How quickly should wet materials be dried?
The EPA recommends drying wet or damp materials within 24 to 48 hours after a leak or spill because mold usually will not grow when drying occurs in that window. Materials that cannot be cleaned and dried completely may need removal.
Can AMPM Restoration help with the report and insurance process?
AMPM Restoration provides water damage restoration, mold inspection and removal, repairs, reconstruction, and insurance claim assistance. Call 941-946-7807 for a free inspection and estimate, and ask about financing options for eligible projects.