

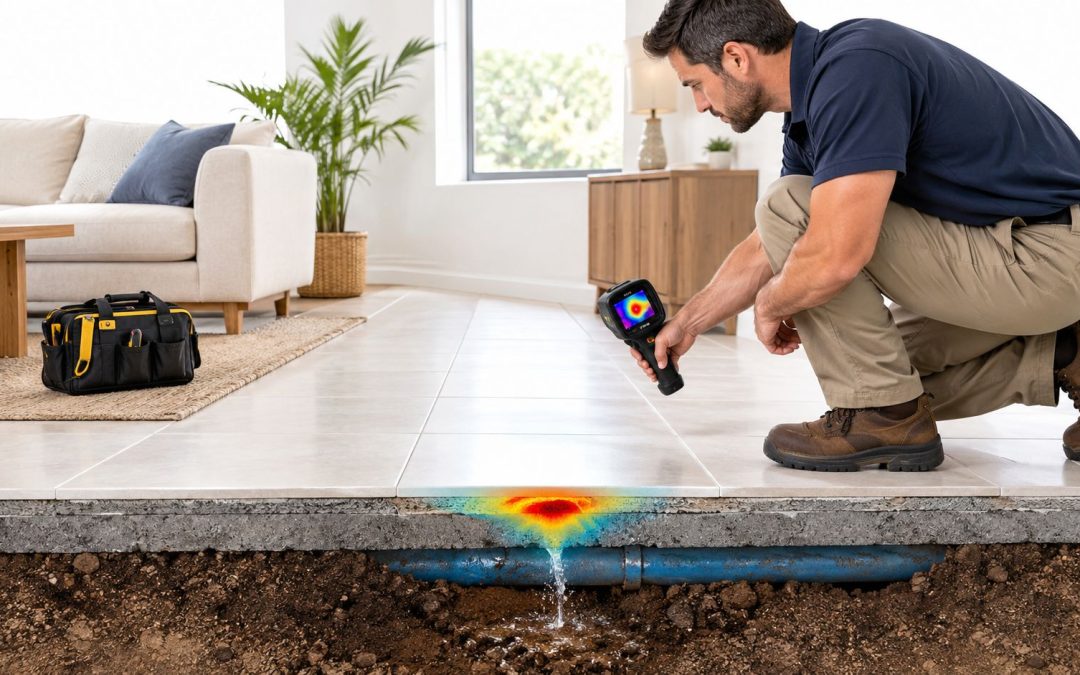
Your Bradenton water bill has climbed even though your routine hasn't changed, and the tile in a kitchen corner feels warm. You need to know whether a pipe is leaking beneath the floor, whether shutting off the water will help, and whether someone really needs to break concrete. Leak detection under slab should answer those questions before demolition begins, not turn your kitchen into an exploratory excavation.
Leak Detection Under Slab Methods at a Glance
A slab leak usually means a leaking pressurized supply line beneath or within a concrete floor slab. Drain lines beneath slabs can fail too, but they require a different investigation because they don't carry water under continuous supply pressure.
Escaping water can soak the soil, follow pipe trenches, and migrate through construction joints or floor coverings before you see damage. The warm kitchen tile might help identify a hot-water problem, but it doesn't establish where the pipe has failed.
Slab leak detection methods compared
| Method | Question it answers | Time on site |
|---|---|---|
| Water meter check | Is water escaping anywhere in the system? | No-use observation period before specialist testing |
| Static pressure test | Does the isolated pipe run hold pressure? | 30–60 minutes plus monitoring |
| Acoustic listening and correlation | Where does the escaping-water sound come from? | Allow for route mapping and repeat measurements |
| Thermal imaging | Is there a temperature anomaly from a hot-water line? | 30–60 minutes |
| Tracer gas | Where is the likely access zone above the leak? | Allow for isolation, draining, gas migration, and scanning |
| Full investigation | Is the leak confirmed and located for excavation? | Usually one visit, sometimes two |
The table's appointment allowances aren't a guaranteed schedule. Access, missing isolation valves, and inconclusive readings can extend the investigation.
Why confirmation matters before cutting
The U.S. Environmental Protection Agency estimates that household leaks waste nearly 1 trillion gallons annually, with an average household leak wasting approximately 9,300–10,000 gallons annually, about 9% of homes losing at least 50 gallons daily, and fixing readily correctable leaks potentially reducing water bills by approximately 10%. Those figures cover all household plumbing leaks, not just leaks beneath slabs.
No instrument answers every diagnostic question. A moisture meter establishes that material is wet; a pipe locator maps a route; a pressure gauge tests an isolated circuit; listening equipment helps narrow the breach location.
Practical rule: Don't authorize concrete removal until independent evidence agrees on both the leaking line and the proposed access zone.
Start with inexpensive system checks, then pay for targeted locating where the evidence leads. There isn't a confirmed AMPM combined-investigation price to publish as a standard rate. Get a written scope that distinguishes inspection, specialist locating, plumbing repair, demolition, and restoration before authorizing paid work.
Warning Signs of a Slab Leak in Florida Homes
A warning sign is a reason to test, not proof that the slab contains a leaking pipe. Utility changes and unusual floor temperatures can appear before staining, while visible moisture can originate somewhere other than the plumbing.
Slab leak signs, likely causes and first actions
| Sign | What it usually points to | First action |
|---|---|---|
| Water bill up noticeably with no change in use | Supply leak somewhere in the system | Run a meter check with all fixtures off |
| Warm spot on tile or concrete, often in one room | Possible hot-water line leak under the slab | Note the location and photograph it, then request thermal imaging |
| Hissing or running sound with fixtures off | Possible pressurized supply leak | Turn off the main if safe and request acoustic listening |
| Damp carpet, musty odor, or wet floor edges | Moisture migrating through slab or soil | Check humidity and moisture at baseboards, then schedule testing |
| Lifting, cupping, or cracking floor covering | Prolonged moisture beneath flooring | Avoid heavy foot traffic and request an inspection |
| Low water pressure or wet soil beside the foundation | Possible service-line or joint failure | Stop irrigation and arrange pressure testing |
Florida conditions can blur the clues
Slab-on-grade homes are common around Bradenton and Sarasota. Sandy fill can let water travel away from a damaged pipe, so the wettest floor edge may not sit above the breach.
Humidity creates another complication. Moist air can condense on cool surfaces, and an air-conditioning condensate problem can mimic plumbing moisture. Summer heat can also make a hot-water anomaly less obvious underfoot.
Look for combinations rather than treating every symptom equally:
- Bill increase plus localized warmth: Prioritize investigation of the hot-water supply.
- Musty flooring after rain: Include exterior drainage and building-envelope checks rather than assuming a supply leak.
- Meter movement without interior symptoms: Check toilets, irrigation, outdoor taps, and service piping before blaming the slab.
Our hidden water leak detection guidance can help homeowners recognize concealed moisture without jumping straight to demolition.
A running toilet or programmed irrigation cycle can explain an isolated usage change. Persistent meter movement after every water use has stopped deserves testing within days, not weeks. Active flooding, spreading floor damage, or water near electrical equipment requires immediate attention.
How to Narrow Down a Slab Leak Before Cutting Concrete

A meter that keeps moving after all water use stops gives you a reason to investigate, not a location to excavate. Start with the least disruptive checks, then use each test to answer a specific question. A negative result from one test does not clear the slab if that test only covered one branch or one moment in time.
Follow a documented testing sequence
Stop all water use. Turn off taps, appliances, ice makers, irrigation, and automatic refill equipment. A toilet fill valve or appliance cycle can look like a concealed leak.
Record the meter and wait two hours. Leave the system unused, then check the reading again and photograph both readings. Treat this interval as a practical screening step, not proof of a slab leak. A moving meter establishes unexplained consumption, but does not identify where water is going.
Isolate the suspect branch. A plumber can use accessible valves and the plumbing layout to test a defined section. An unverified valve or a cross-connection may leave more piping in the test than intended, making the result hard to interpret.
Connect a gauge and set a suitable test pressure. The technician attaches a gauge at an access point and tests the isolated line at an appropriate working pressure. The pressure must suit the pipe and its condition; testing beyond that can risk damage without making the leak easier to locate.
Watch for pressure loss. A drop greater than 5 psi during 30 minutes is a field indication that the isolated run may be leaking. It is not a universal code threshold. Valve leakage, trapped air, and temperature changes can affect readings, so the result needs to be interpreted in context.
Document the test. Record the starting and ending readings, valve positions, branch tested, and a rough pipe-route sketch. These details help connect the result to a repair decision instead of treating a pressure drop as an excavation map.
The six-step slab leak detection infographic shows how initial screening fits into the broader detection process.
Make the excavation decision from the evidence
A moving meter does not show whether water is escaping beneath concrete, inside a wall, outdoors, or through a fixture. An unchanged reading also cannot rule out an intermittent leak. Each test narrows the possibilities, but a pressure test only speaks to the branch that was isolated and the conditions during testing.
AMPM Restoration's technicians are trained to identify water-damage sources such as burst pipes, heavy rain, and malfunctioning appliances. That assessment can help distinguish a plumbing failure from other causes before demolition is considered. Read about the free water leak detection assessment to understand where that process starts.
Cut concrete only when testing supports a leak in the relevant plumbing run and a locating method points to a matching area. If the tested branch holds pressure while the meter still moves, revisit the isolation and test other possible sources before approving demolition.
Acoustic and Thermal Methods for Tracing the Leak Route
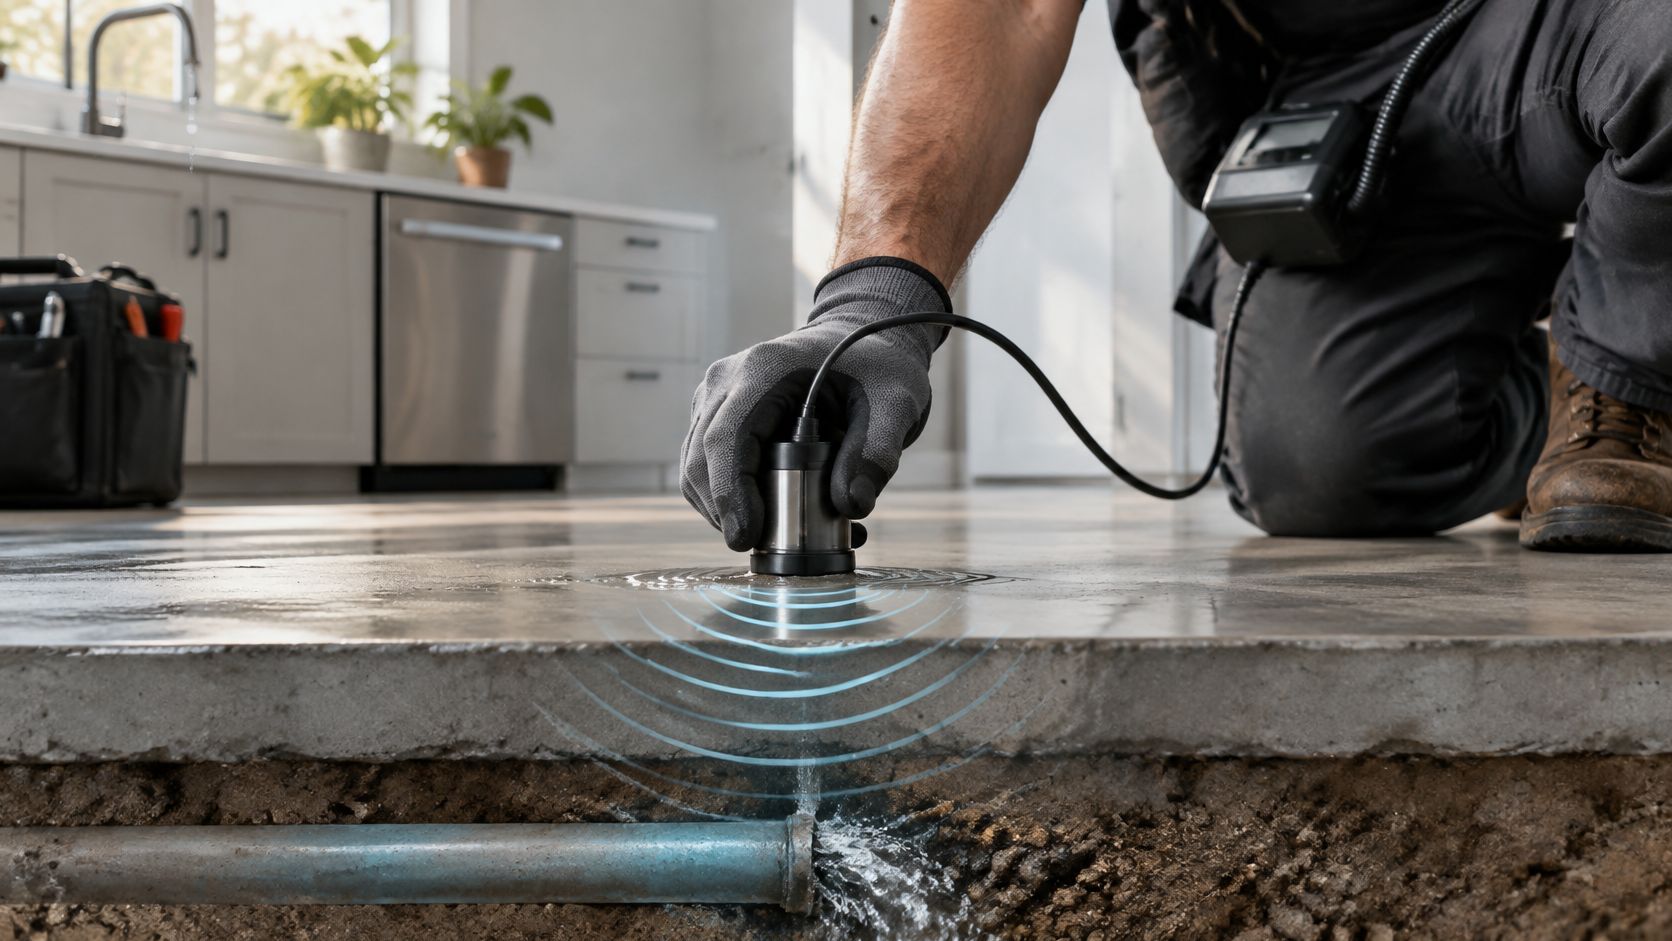
A ground microphone moved across a marked grid lets a technician compare sound readings at different points above a suspected pipe route. The readings help narrow the search, but their usefulness depends on how well leak noise travels through the pipe surroundings and reaches the sensor.
Listening requires a usable signal
Pressurized water escaping through a defect creates vibration and flow noise. A technician compares readings across the grid rather than treating the loudest point as a confirmed leak location.
The experimental report available through the Defense Technical Information Center discusses how leak noise travels through soil and aggregate, and why sensor contact matters. Concrete and gravel can provide better contact than loose sand or clay. In those conditions, contact with the pipe or a waveguide may be needed to carry the signal.
Where pipe sections are accessible, correlation equipment compares when the same noise reaches separated sensors. The calculation depends on accurate sensor spacing and a suitable wave-speed setting for the pipe and its surroundings. A wrong material setting can yield a precise-looking location that is inaccurate.
Common obstacles include:
- Plastic piping and deep burial: Either can weaken the signal at floor level.
- HVAC and equipment noise: Mechanical vibration can mask leak noise.
- Floor coverings: Carpet, underlay, and layered finishes affect sensor contact.
- Low-flow defects: A small opening may produce little recognizable sound.
Temporarily quieting equipment can improve the test if doing so is safe. If background noise remains high, change the test conditions or use another method rather than treating an unclear reading as a result.
Thermal imaging maps temperature, not pipe damage
An infrared camera measures surface-temperature patterns. It can show a pattern associated with escaping hot water, but it cannot see through concrete or identify a broken fitting. Sunlight, hot-water circulation, appliances, and air-conditioning can create competing patterns. A cold-water leak may provide little contrast when nearby materials are at a similar temperature.
The thermal imaging leak detection guide explains how temperature mapping can support a broader inspection.
An acoustic reading estimates a location; a thermal image shows a temperature pattern. Neither alone establishes where to cut. Repeat acoustic measurements from another access point or check the suspected zone with a different technique. A negative result from one test does not clear the slab, because each method answers a different question. Compare the evidence before deciding whether further testing can narrow the location enough to justify opening the concrete.
When Tracer Gas Pinpoints the Access Point
A slab leak can remain hard to locate after acoustic testing, especially with nonmetallic piping, deep pipe placement, building noise, or a line that will not hold normal pressure. Tracer gas offers another way to narrow the access zone, but its reading needs to be interpreted alongside the pipe layout and surface conditions.
How the surface scan works
ISO 20485:2017 specifies leak detection with tracer gas and a detector designed for that gas. In a plumbing investigation, a technician isolates and drains the suspect line, introduces a controlled hydrogen-nitrogen mixture, allows time for it to migrate, then scans the floor systematically with a hydrogen-sensitive instrument.
The gas mixture and introduction pressure must suit the equipment and installation. This is not a homeowner procedure using an improvised gas source.
Gas may travel through construction joints, cracks, porous fill, and other vapor pathways. Air movement can shift surface concentrations, and floor finishes can affect where gas becomes detectable. A surface peak therefore identifies a useful search area, not necessarily the exact position of the pipe defect.
What makes a reading useful for repair
A single high reading is weak evidence on its own. The technician compares the peak with nearby readings, checks the result against the mapped pipe route, and considers whether cracks or other pathways could have carried gas away from the leak.
Each test answers a different question. Pressure testing checks whether a defined circuit is leaking. Acoustic correlation can narrow the route when usable sound is available. Tracer gas can help refine the access zone when uncertainty remains. If the suspect line has not been identified first, gas testing may add cost without clarifying where to open the floor.
Keep the tracer-gas record focused on the scan:
- Introduction pressure: Record the pressure used to introduce the gas.
- Grid spacing: Note the spacing between scan points.
- Peak-to-neighbor comparison: Record the peak and nearby readings.
- Proposed opening: Photograph the marked access point with a recognizable room reference.
These details help a plumber judge whether the proposed opening is supported by the scan before concrete is cut. They also give the homeowner a clear record for repair and insurance paperwork, while keeping the leak location distinct from any secondary moisture or mold damage that may need a separate restoration scope.
Repair Options, Timelines and Costs After Detection
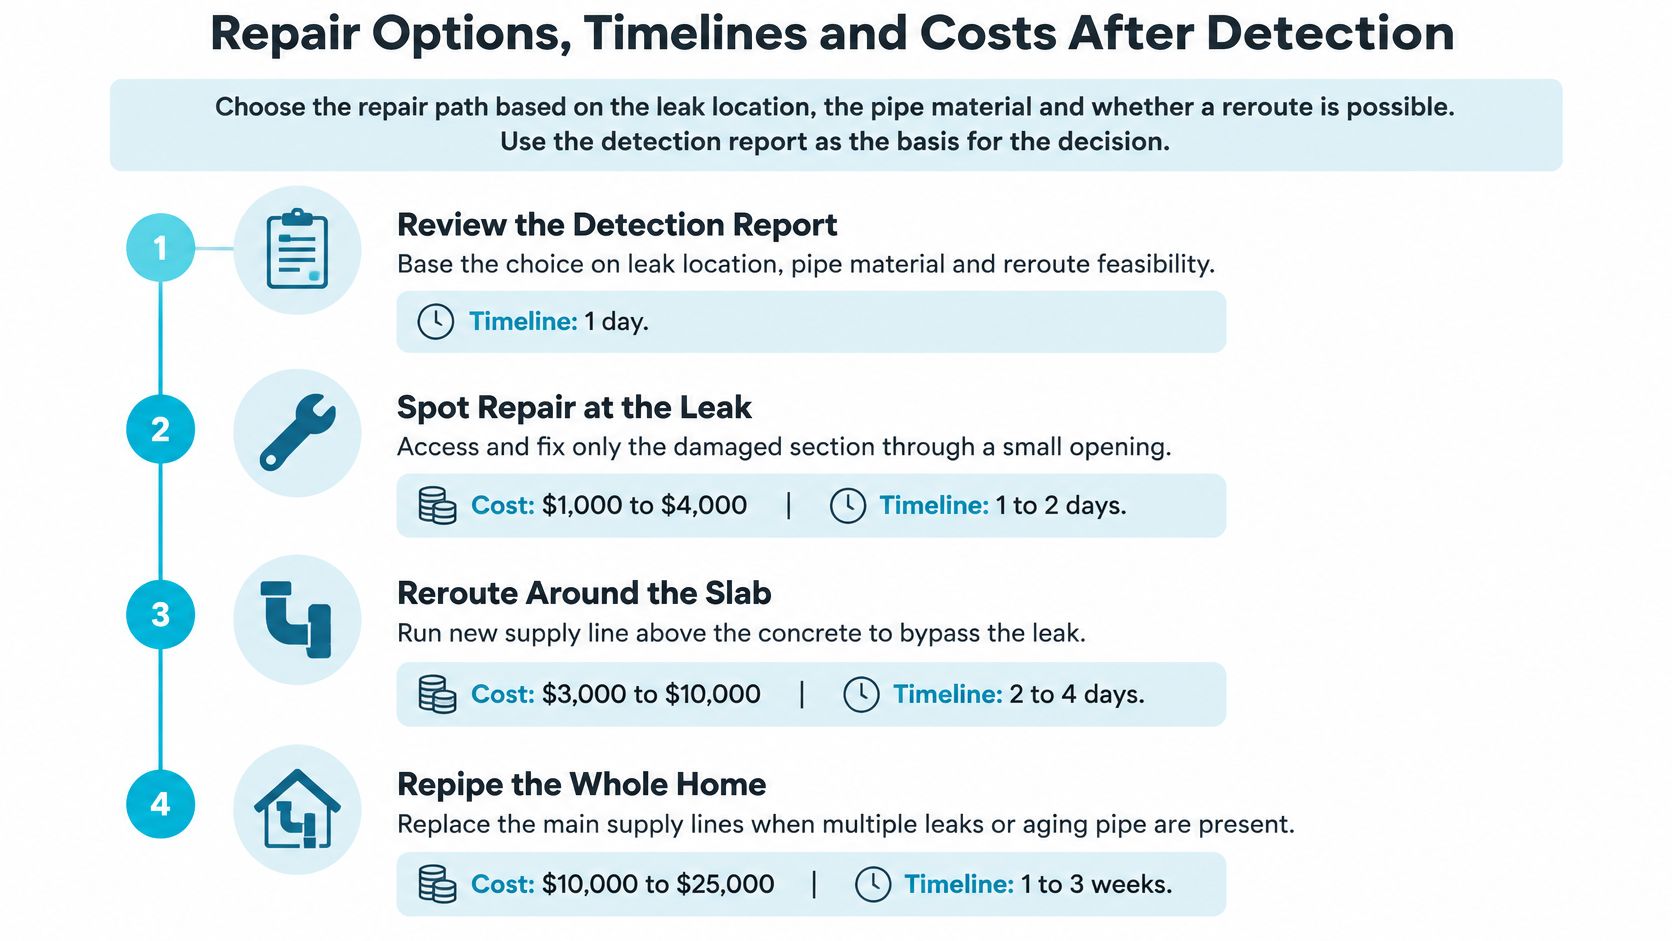
A confirmed leak still leaves a practical choice: open the slab at the marked point, reroute the pipe, or replace more of the plumbing. Choose based on the detection findings, pipe condition, and access. The smallest opening may not mean the lowest total cost if flooring, cabinetry, drying, or reconstruction also needs attention.
Slab leak repair approaches, costs and timelines
| Repair approach | Best fit | Typical timeline |
|---|---|---|
| Spot repair through a slab access point | Single leak at an accessible joint or fitting | About 1 day for access and repair when the pipe is reachable through a straightforward slab opening, excluding restoration |
| Reroute through attic or wall | Slab section unusable or leak near a wall | Schedule follows route approval, access preparation, and testing |
| Slab cut and pipe replacement | Confirmed leak under slab with no practical reroute | Allow separate stages for opening, plumbing, patching, and finish restoration |
| Whole-home repipe | Several failing lines or widespread corrosion | Requires a staged installation and restoration schedule |
The visual compares repair paths. Its displayed price and duration examples are not verified Florida estimates or AMPM quotations. Use a written scope for the property when budgeting.
Compare the complete cost, not just the pipe work
A spot repair keeps most existing piping in place, but does not address its remaining condition. Rerouting can avoid some floor demolition, though it may require wall access, insulation work, and careful routing through a hot attic.
Ask for separate allowances for locating, plumbing, concrete, flooring, drying, and reconstruction. Water leak detection and repair guidance can help homeowners understand how diagnosis connects to the work that follows.
For an illustration of residential concrete repair scope, homeowners can find home concrete repair services. This resource is not a Florida price benchmark or a substitute for local assessment of a structural slab.
Drying and documentation continue after the pipe is fixed
AMPM monitors moisture levels during drying to check that affected areas reach acceptable dryness standards. Structural inspections can identify secondary damage, including weakened supports, compromised drywall, and damaged insulation.
Florida humidity makes it important to dry wet materials before enclosing them. If mold is present, removal begins with inspection to identify affected areas, including those not visible to the naked eye. Physical barriers and negative air pressure help isolate the work area, while addressing moisture causes such as leaks, ventilation, or humidity helps reduce the conditions that allow mold to return.
Keep the detection report, damage photographs, moisture records, repair scope, and invoices for the insurer. Coverage depends on the policy and circumstances, so records should describe observed conditions without promising reimbursement.
Slab Leak Questions Homeowners Ask Most
How much does leak detection under slab cost in Florida?
There is no reliable price without knowing which tests the job requires. A homeowner can check the meter at no cost, while professional branch isolation, acoustic locating, and tracer-gas testing require different equipment and preparation.
Before testing starts, ask for the investigation price in writing and what additional work could cost if the first test is inconclusive. AMPM Restoration offers a free inspection and estimate for water damage, but that does not mean every specialist plumbing test is free.
How long does slab leak detection take?
Plan for diagnosis to take as long as the evidence requires. Accessible plumbing and clear readings may allow the technician to finish during the initial appointment. Difficult isolation, weak signals, or confirmation testing can mean a return visit.
Ask whether the water must stay off during testing and whether the findings are expected to identify a repair area or show that more testing is needed.
Can a slab leak be found without breaking concrete?
Testing and non-destructive locating methods can often narrow the likely access area before concrete is opened. Each method answers a different question, though, so a negative result from one test does not clear the slab.
Finding a likely leak location without demolition does not remove the need for access to repair it. Rerouting may avoid opening the slab, but it can require openings elsewhere. The practical decision is whether the available evidence supports cutting at a specific location or whether another, less destructive test could reduce the risk of opening concrete in the wrong place.
Does homeowners insurance cover slab leak repair?
Coverage depends on the policy, cause, exclusions, and circumstances of the loss. The carrier may assess the failed pipe, access work, resulting water damage, and reconstruction separately.
The carrier will generally want a clear account of what was damaged and what caused the loss. Submit the claim details and relevant records promptly, and ask what documentation it needs before non-emergency work begins. Don't delay reasonable emergency measures while waiting for a coverage decision; explain what was necessary and why.
Is a meter test enough to rule out a slab leak?
A meter check alone cannot rule one out. It may miss intermittent supply leakage, and it does not test drain piping in the same way as a pressurized supply circuit.
Thermal testing has a separate limit: if leaking water does not create a useful temperature difference, thermal imaging may not locate it. Choose follow-up testing based on the unresolved question, rather than treating one negative result as proof that no slab leak exists.
Should I wait for visible damage before calling?
Persistent hissing, unexplained water use, or localized warmth can warrant investigation before flooring visibly fails. Describe when symptoms occur and whether they change with hot-water use, rainfall, or irrigation. That pattern helps the technician select tests suited to the suspected source instead of running every available test without a clear reason.
Call for a Free Slab Leak Inspection Before Any Demolition
If your water meter moves while fixtures are off, or you notice unexplained warmth, hissing, or damp flooring, arrange leak testing before authorizing concrete removal. Leak detection under slab should establish whether cutting is justified and narrow the likely access area. A negative result from one test does not rule out a leak; each method answers a different question, and another targeted test may cost less than premature demolition.
Prepare the property and preserve the evidence
If water is actively escaping, shut off the main valve if it is safe to do so. Leave the slab intact until the leak has been assessed. Cutting or drilling without a clear location can create avoidable damage.
AMPM Restoration offers leak detection and serves Florida's Suncoast, including Bradenton, Sarasota, Palmetto, St. Petersburg, and the greater Tampa Bay area. Its technicians can assess concealed plumbing concerns and help determine an appropriate next step before demolition.
Get a clear next step
The Bradenton leak detection service provides information about AMPM Restoration's leak detection. The company offers a free inspection and estimate for water damage and coordinates directly with insurance carriers to simplify claims. Coverage and payment for leak repairs or resulting damage depend on the policy, so confirm what documentation your insurer needs before work begins.
AMPM Restoration also offers water damage restoration, mold removal and remediation, fire damage restoration, storm and flood damage restoration, and commercial restoration. Coordinating assessment and restoration can help keep the response focused on the property's needs.
Call 941-946-7807 to request a free inspection and estimate before authorizing demolition.