

Water Tank Leaking: What to Do Right Now
A puddle beside the water heater, a damp smell in a utility closet, or a water bill that suddenly seems out of step with your household can all point to a water tank leaking. In a Florida home, water may soak flooring or slip behind a wall before anyone spots a clear stream, so focus first on safety and stopping the water, not on finding a perfect diagnosis.
AMPM Restoration is a 24/7 emergency restoration company based at 4301 32nd St W b18, Bradenton, FL 34205, serving Bradenton, Sarasota, Tampa Bay, Saint Petersburg, Lakewood Ranch, and surrounding Gulf Coast communities. The guidance below follows the practical order to take: make the area safe, identify where water is coming from, preserve useful evidence, and get the right professional involved.
The First Hour When a Tank Starts Leaking
You come home, step into the utility room, and find water spreading from the base of the heater. Or the floor looks dry, but the closet smells damp and the water bill has climbed without an obvious explanation. Either way, treat the problem as active until you know where the water is going.
A slow seam leak can stay hidden under a tank or behind stored items, then show up as swollen flooring or damp drywall. In Florida’s humid conditions, wet materials may take longer to dry without active extraction and dehumidification. You don’t need to solve every question in the first few minutes. You do need to limit incoming water, avoid electrical hazards, and note what you see before cleanup changes the scene.
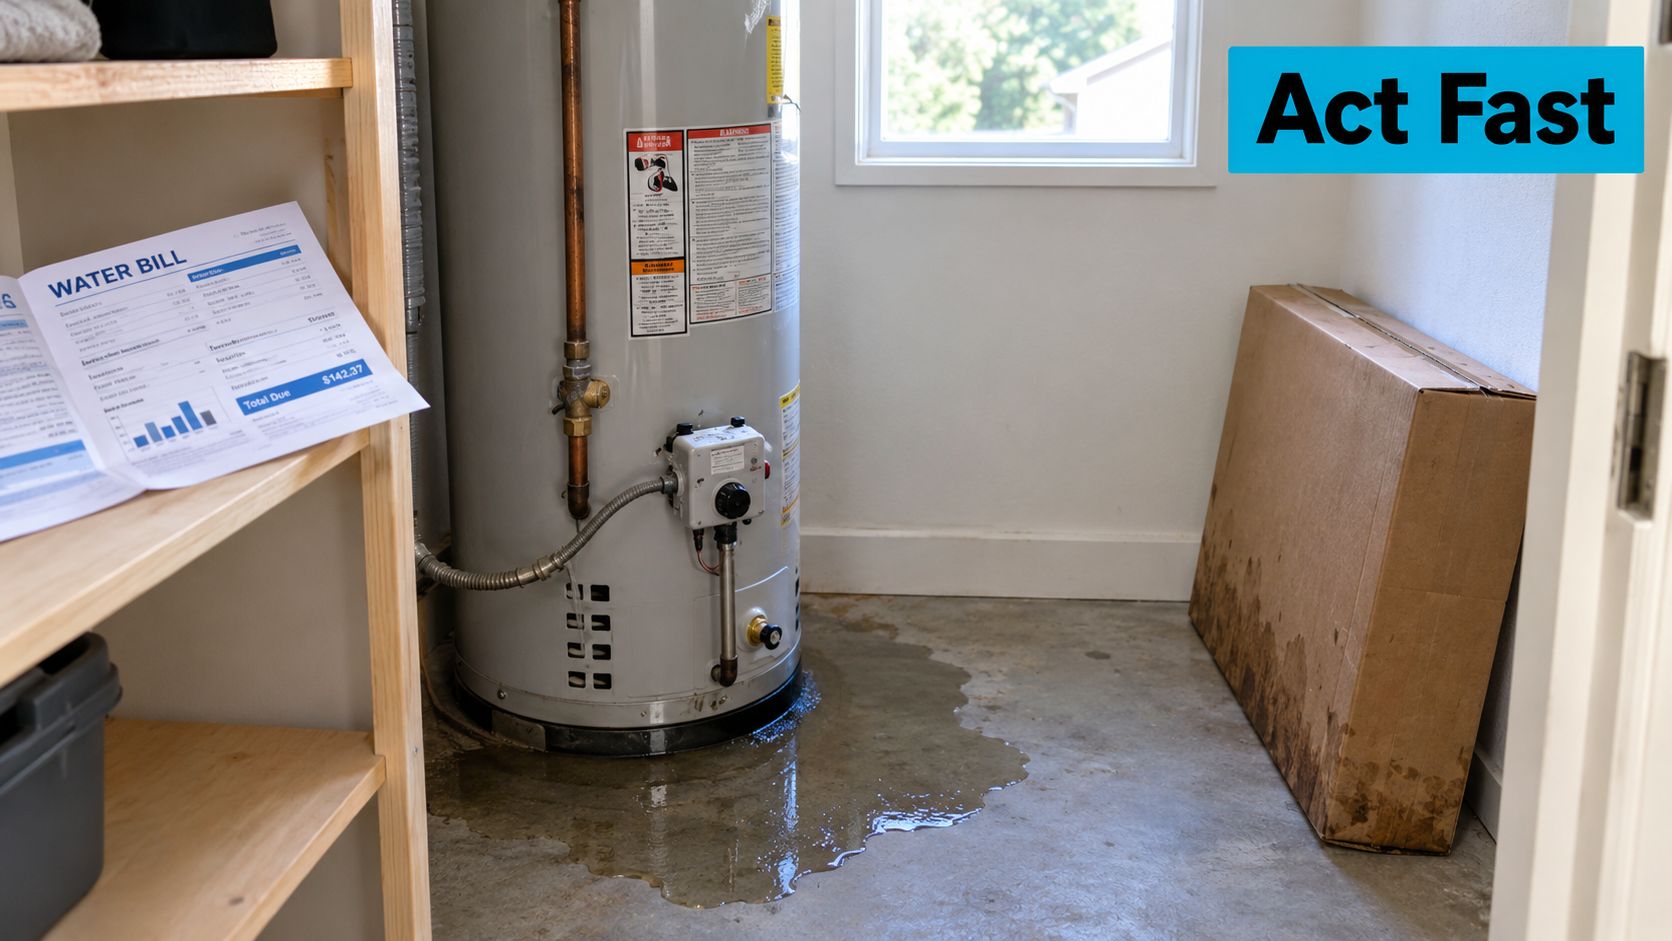
Act on the water, not the guess
If water is actively flowing, use the tank’s cold-water shutoff if you can reach it safely. If the valve is missing, stuck, or doesn’t stop the flow, shut off the home’s main water supply. Don’t spend the first half hour debating whether the tank itself has failed or a fitting has loosened. Stop the supply first, then observe.
If you see water near an electrical panel, wiring, or an appliance connection, don’t step into it or touch nearby switches. Keep people and pets out of the wet area and call for qualified help. Florida plumbing specifications set a maximum temperature-relief setting of 210°F (99°C) and a maximum pressure setting of 150 psi or the manufacturer’s rated working pressure, whichever is lower, for applicable storage water heaters (Florida plumbing-code water-heater provisions). Those limits are safety requirements, not a reason to test or adjust a relief device yourself.
Take a quick photo or short video of the leak before moving towels or belongings. Then follow what to do during the first 24 hours after water damage while you arrange plumbing and restoration help. The rest of your response should turn uncertainty into a clear record of the source, the affected materials, and the work needed.
Safety and Shutoff Actions You Can Take Right Now
Start with the safest reachable control. If there’s no electrical hazard, close the cold-water inlet valve above the tank. If you can’t find it or it won’t turn, use the main water shutoff instead. Don’t force a corroded valve until it breaks; a damaged shutoff can make a manageable leak harder to control.

Keep the heater and the area safe
If the water heater is electric, turn off its circuit breaker only if the panel and surrounding floor are dry and safe to reach. For a gas heater, use the appliance’s normal gas control if it’s accessible and you can operate it safely. If you’re unsure, leave the equipment alone and call a licensed plumber or emergency service.
Opening a hot-water faucet can help relieve pressure after the supply is shut off, but don’t approach a faucet or tank if water is near energized equipment. Use a bucket or towels only when you can place them without wading through water or touching hot surfaces. Never cap a temperature-and-pressure relief discharge, and don’t solder or attempt a repair while the tank is full and connected.
Florida plumbing requirements prohibit a check valve or shutoff valve between the water-heater relief valve and the tank, so the safety device can’t be isolated during an overpressure or overheating event (Florida plumbing requirements for water heaters). Don’t modify that arrangement or treat relief-valve discharge as something to plug.
Keep within reach: A flashlight, towels, a wet/dry vacuum, and contact numbers for a licensed plumber and a restoration company can save time. A sensor with automatic shutoff can add another layer of protection; compare options for a leak sensor shut off valve before an emergency, and confirm that the product suits your plumbing and installation.
For a burst line elsewhere, this guide to responding after a pipe bursts can help you manage the immediate water shutoff and protect the property. Your first actions should stay simple: avoid hazards, stop the supply if safe, protect nearby belongings, and call the right professional.
How to Find the Actual Source of the Leak
Once the area is safe and water flow is under control, trace the wet path from the highest visible point downward. Water can run along a pipe or tank surface before dripping elsewhere, so the puddle’s location doesn’t always identify the source. Use a flashlight, look without touching hot or energized components, and tell the plumber exactly where fresh moisture appears.
A leak from the tank shell is more serious than water from a fitting. Rust trails, bubbling paint, or seepage emerging through a seam can indicate corrosion or structural damage. A shell leak generally isn’t a safe candidate for an exterior patch while the tank remains in service. If the tank is bulging, visibly deformed, or leaking through its body, stop using it and get a qualified assessment.
Check each likely location
Relief-valve discharge deserves a separate look. Water from its discharge pipe may mean the valve opened, or the pipe may be leaking or terminating incorrectly. A Connecticut hydropneumatic-tank assessment notes that a leaking relief valve or improperly terminated discharge line can resemble a tank-shell failure until the outlet is inspected separately (Connecticut hydropneumatic-tank assessment). Don’t cap or block the line to test it.
The drain valve, cold-water inlet, hot-water outlet, and nearby pipe joints can also drip or seep. Look for mineral deposits, fresh water beads, and stains on the wall or baseboard behind the tank. Condensation can make a surface damp without indicating a tank failure, so dry a small accessible area and check whether moisture returns. If you’re weighing whether a domestic heater needs water heater repair or replacement, describe the source and visible condition to a qualified technician rather than trying to seal it yourself.
| Leak Location | What You See | Typical Cause |
|---|---|---|
| Tank shell or seam | Rust tracks, bubbling coating, water from the tank body | Corrosion or structural deterioration |
| Relief-valve outlet | Water at the discharge pipe or its termination | Valve discharge, valve problem, or pipe issue |
| Drain valve | Dripping around the valve or its connection | Worn or loose valve |
| Inlet or outlet fitting | Moisture, mineral deposits, or corrosion at a joint | Failed seal, fitting, or connection |
| Connected piping | Water along a pipe, wall, or floor away from the tank | Plumbing leak or water tracking from another source |
When you call, report whether the water appears at the shell, a valve, or a pipe, and whether it returns after you dry the area. That description helps the plumber distinguish a tank failure from a connection problem before opening or replacing equipment.
Running a Pressure and Isolation Test You Can Trust
A gauge drop by itself doesn't prove a tank is leaking. Pressure readings can change because of temperature, trapped air, a bypassing valve, gauge error, or a fixture using water elsewhere in the home. A useful test controls those variables and records what you did. If the tank is pressurized, large, or part of a commercial system, leave formal testing to a qualified professional.

Make the observation repeatable
Only test a domestic system if you can reach the shutoff safely and the tank is in otherwise safe condition. Let the system stabilize, keep water-using fixtures off, isolate the tank from the supply, and note the gauge reading or water level. Use a calibrated gauge if one is already installed and appropriate for the system. Record the time and conditions, then compare the result with the manufacturer's tolerance or a known-good control.
For a simple moisture check, dry the accessible exterior and floor, then place dry paper towels beneath suspected connections. Recheck after a defined interval. New moisture narrows the search, but it doesn't establish that the tank shell itself has failed. A domestic isolation check is not equivalent to a professionally validated tightness test.
EPA benchmarks for approved release-detection methods used on regulated underground tanks include detecting leaks as small as 0.2 gallons per hour, with at least 95% probability of detection and no more than 5% probability of false alarm (EPA release-detection performance guidance). That benchmark shows why a casual pressure reading shouldn't be treated as proof: a defensible test needs stated sensitivity, conditions, duration, and false-alarm performance.
Stop testing if readings behave inconsistently, water continues to appear, the tank is visibly damaged, or safe access requires entering a confined space. Don't remove scale, strip coatings, weld, or apply a sealant as an experiment. A qualified technician can select appropriate non-destructive methods, such as ultrasonic thickness measurement or other inspection procedures, based on the tank and the suspected defect.
Hidden Leaks and the Sensors Worth Considering
A dry floor doesn't rule out a leak. Water may collect under a tank, soak insulation, travel behind drywall, or escape from concealed piping. A water bill that no longer matches normal use, a pump cycling unusually often, intermittent relief-valve discharge, or a persistent musty smell near the tank all warrant inspection. These signs don't identify the source, so check the relief valve and nearby connections before concluding that the tank has failed.
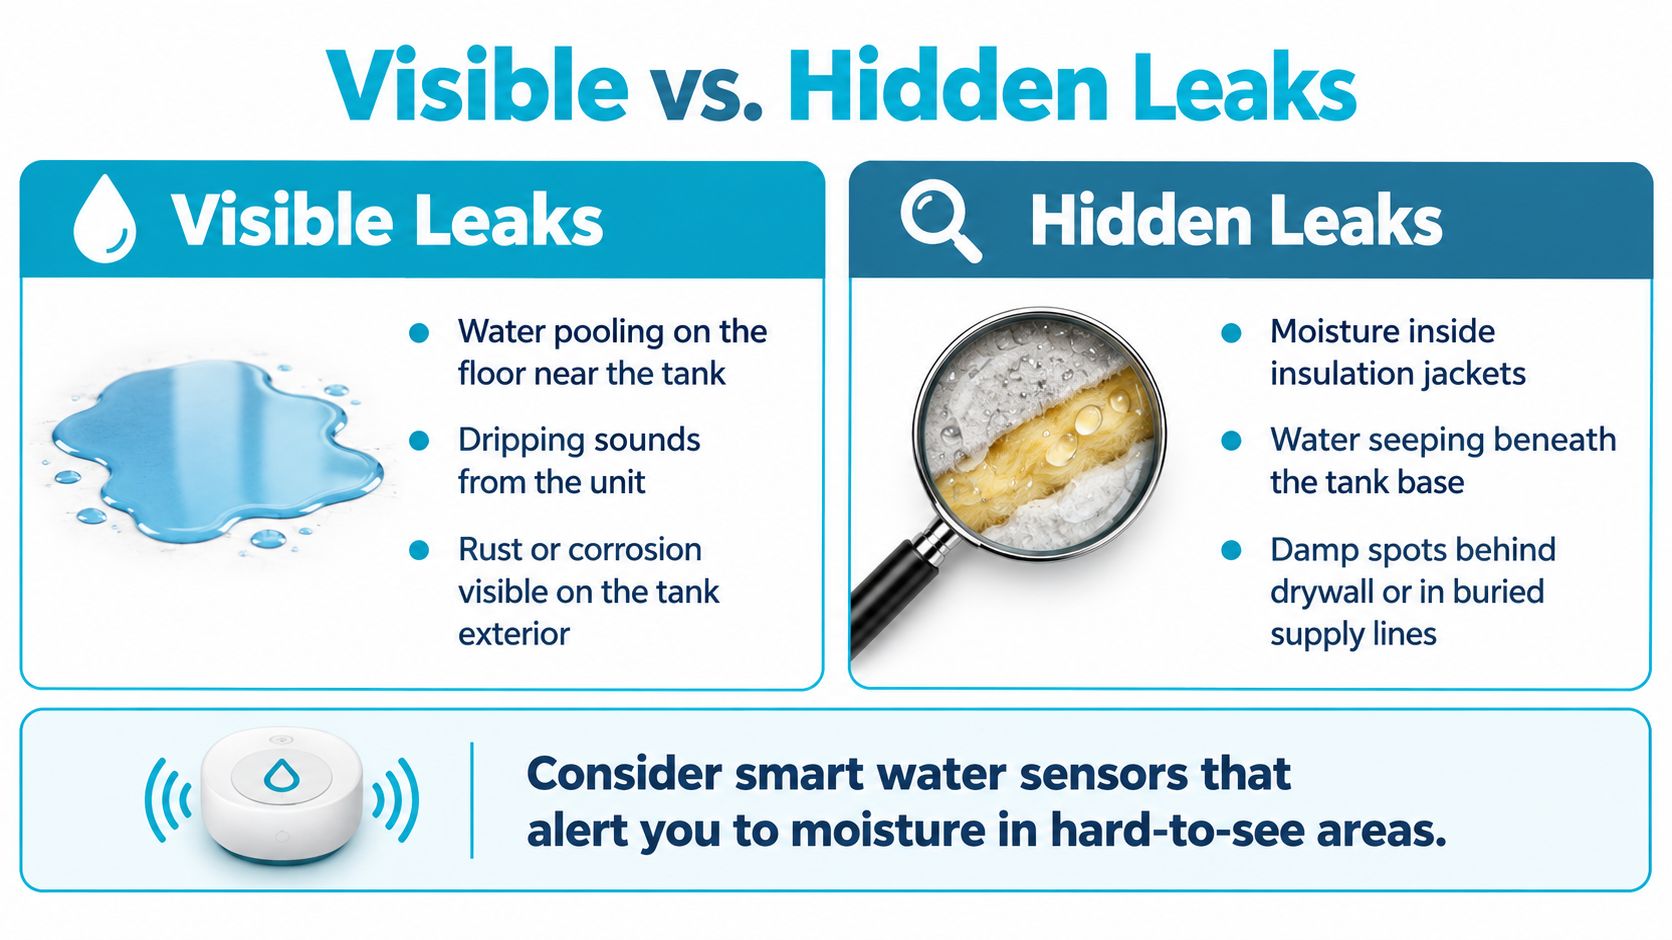
Choose detection for the risk
A point sensor under a heater alerts you when water reaches the floor near that unit. It won't detect a leak inside a wall or at a distant fixture. Whole-property flow monitoring can flag unusual ongoing use and, in some setups, close a main shutoff. Before relying on one, check how it responds to normal household activity and power interruptions.
Ultrasonic level sensors and smart-tank controllers track stored water and can trigger alerts or automatic controls when levels fall below a set threshold. Research on smart leak detection describes combining tank-level sensors with ultrasonic measurement and automated shutoff controls. These systems may suit larger tanks or managed facilities; a point sensor is often a simpler fit for a household heater.
Florida humidity can complicate alerts. Condensation or ambient moisture may trigger false alarms, so place sensors where they can detect actual water, then test the alert and shutoff functions. If signs point to moisture beyond the visible tank area, hidden water leak detection can help locate water behind surfaces or under flooring.
The EPA's 24–48 hour drying window for wet or damp materials after a clean-water leak makes response time important. A sensor alert helps only if someone acts promptly, and the window isn't a guarantee against mold (EPA clean-water drying guidance). A fan and towel may not reach moisture trapped in flooring, insulation, or a wall cavity. When concealed materials remain damp, professional moisture assessment and extraction can address water a surface-level cleanup misses.
What Insurance Actually Covers and What to Document Now
A leaking tank doesn't automatically mean the damage will be covered. The insurer may distinguish between a sudden, accidental release and gradual seepage, and it may treat the damaged tank differently from the floors, walls, or belongings affected by escaping water. Texas Department of Insurance guidance says most home policies don't cover damage from gradual leaks or seepage, including related mold, while covered water damage may include mold affecting property the policy would otherwise replace (Texas Department of Insurance water-damage guidance). Your policy and the facts of the loss determine the outcome.
Preserve the evidence before cleanup changes it
Photograph the tank from several angles, the suspected leak point, nearby valves and piping, rust or mineral deposits, wet flooring, baseboards, drywall, and damaged contents. Take close-ups as well as wider views that show where the tank sits in the room. If water is still flowing, don't delay emergency mitigation just to build a complete photo set. Capture what you safely can, then stop the damage.
Write down when you first noticed the leak, what you found, what shutoff actions you took, and whether the problem appeared sudden or ongoing. Keep any failed fitting or valve if a plumber removes it and says it's safe to retain. Don't discard parts or damaged materials before discussing evidence needs with your insurer or restoration professional.
Separate emergency mitigation from permanent replacement in your notes and estimates. Extraction, drying, and protection of affected materials address immediate damage; replacing the water heater addresses the equipment. Ask your insurer whether equipment-breakdown coverage applies, but don't assume it does or that it covers the resulting building damage.
For help organizing the water-loss documentation, use this guide to filing an insurance claim for water damage. AMPM Restoration can assist with the claim process and explain the mitigation work performed, but no restoration company can promise that an insurer will cover a particular loss. Clear photos, a timeline, and preserved parts give the adjuster better evidence to evaluate.
When to Call a Plumber, a Restoration Company, or Both
Water at a tank fitting, drain valve, relief valve, or connected pipe, with little damage nearby, usually calls for a plumber first. Water emerging from the tank body, a bulging unit, or a leak with no clear source needs a prompt professional assessment. Stop using a suspect tank rather than waiting to see if the leak worsens. A relief-valve discharge and a failed tank require different repairs, so have a plumber identify the source instead of assuming the tank has ruptured.
Call a restoration company at the same time if water has reached flooring, baseboards, drywall, insulation, or stored belongings. Do the same when you suspect moisture behind a wall or under the tank. The plumber repairs or isolates the source; restoration professionals extract water and assess and dry affected building materials. When both the equipment and the structure are affected, one service does not replace the other.
Use the condition of the property to decide
Before calling, note visible corrosion or deformation, how long the leak may have been active, and which materials are wet. Tell both companies whether the site is a home, rental, or commercial property, and flag any water near electricity or a tank serving multiple occupants. Restoration work may involve assessment, extraction, drying, and repair planning. See the water damage restoration process for an overview.
In Florida humidity, don't wait for visible staining before asking about extraction and drying. If water may be contaminated or mold is already visible, ordinary household drying may not be enough. Ask the restoration team to assess affected materials, explain the drying approach, and identify whether containment or remediation is needed. A fan and towel cannot reach water trapped beneath a tank or behind a wall.
AMPM Restoration serves Bradenton, Sarasota, Palmetto, St. Petersburg, and the greater Tampa Bay area, with 24/7 emergency restoration and a one-hour response time. Services include water damage restoration, mold inspection and removal, fire and smoke damage, storm and flood damage, commercial restoration, and reconstruction. When you call about wet flooring or suspected concealed moisture, explain what was affected and when the leak began so the team can assess the situation.
For a water tank leaking in Bradenton, Sarasota, Tampa Bay, or nearby Gulf Coast communities, call AMPM Restoration at 941-946-7807 for a free inspection and estimate. Insurance claim assistance and financing options are available. Visit AMPM Restoration Services to request help with water extraction, drying, mold concerns, and restoration.