

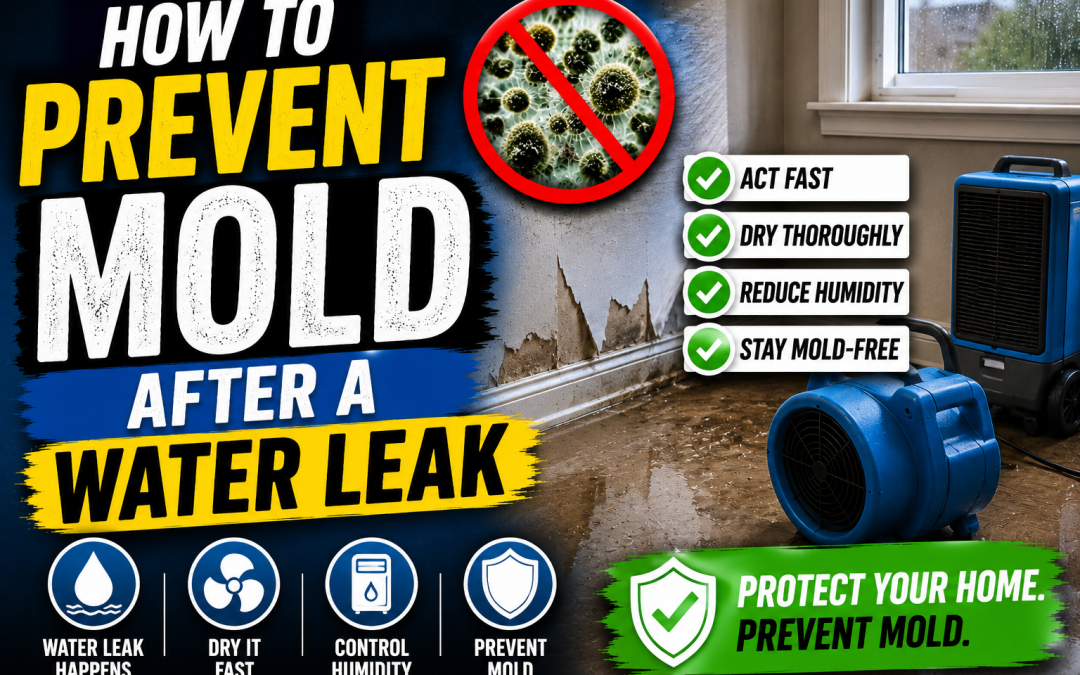
You walk into the bathroom or laundry room, feel wet flooring under your shoes, and your stomach drops. A supply line failed, the washing machine overflowed, or a slow leak finally showed itself through swollen baseboards and a stained ceiling. If you’re searching for how to prevent mold after a water leak, the most important thing to know is that the clock starts immediately.
The U.S. Environmental Protection Agency establishes that mold growth can begin within 24 to 48 hours after water damage, and porous materials that aren’t dried below 16% moisture content can become prime mold habitat in that window, as noted in this EPA-based mold timeline overview. On Florida’s Suncoast, where the air already carries heavy moisture, that margin for error gets smaller in real-world conditions.
That’s why homeowners in Bradenton, Sarasota, St. Petersburg, and Tampa Bay need a response plan that goes beyond towels on the floor and a box fan in the hallway. You need to stop the source, remove bulk water, dry the structure, make smart decisions about damaged materials, and know when the situation has moved past DIY.
Your Action Plan for Water Leaks and Mold Prevention
Water losses often begin subtly. A vanity panel swells. A baseboard darkens. The AC runs longer because damp air is getting pulled through the house, and the actual problem is still hidden behind drywall or under flooring.
On Florida’s Suncoast, that delay is expensive. In Bradenton, Sarasota, St. Petersburg, and nearby Gulf Coast homes, high outdoor humidity slows evaporation and keeps wet materials from drying the way homeowners expect. A leak in this climate can push moisture into cabinets, insulation, subfloors, and wall cavities fast, then hold it there long enough for mold to take hold if the response is too light or too slow.
That is why how to prevent mold after a water leak is mainly an order-of-operations problem. Surface cleanup matters, but dry structure matters more.
The first day sets the outcome
A small plumbing leak in a dry climate may stay limited. The same leak in a Florida home can spread farther because the surrounding air is already working against your drying effort. Closed rooms, engineered flooring, cabinet toe-kicks, baseboards, and HVAC-adjacent spaces are where I often find moisture that homeowners never knew was there.
Start in this order:
- Stop the leak
- Make the area safe
- Remove standing water
- Begin controlled drying
- Separate salvageable materials from unsalvageable ones
- Document the damage
Practical rule: If drywall, carpet pad, insulation, or laminate and engineered wood flooring stayed wet beyond the initial leak event, assume hidden moisture is present until moisture readings show otherwise.
The trade-off is simple. Waiting to see whether materials dry on their own may save effort for a few hours, but it often turns a manageable water loss into demolition, mold remediation, and a larger insurance claim. If you need a clearer view of that response window, review this guide on emergency water damage repair in the first 24 hours.
What helps, and what creates false confidence
Towels, mops, and household fans help remove visible water. They do not tell you whether the wall cavity is dry, whether the cabinet backing is still wet, or whether the subfloor has trapped moisture under finished flooring.
What works is a controlled sequence. Extract bulk water first. Then use directed airflow and dehumidification suited to the affected materials and the size of the loss. After that, verify dryness with meters, not touch or appearance. In Florida homes, that last step matters because materials can feel dry on the surface while staying damp inside.
If you remember one thing, remember this. Visible dryness is not the same as a dry structure.
First Response Safety and Water Removal
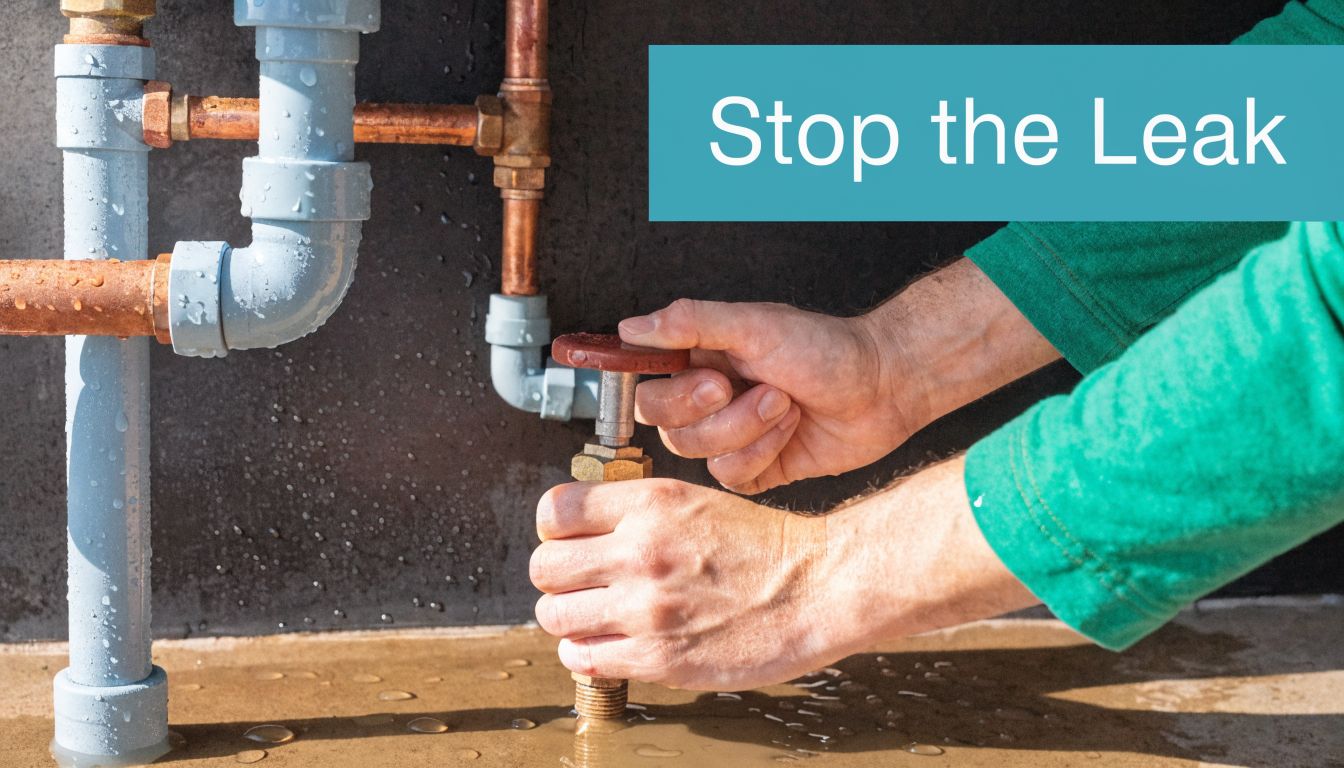
When water is still entering the home, drying can wait. Stopping the source comes first.
Make the area safe before touching anything
If water is near outlets, power cords, appliances, or a breaker-fed area you can’t assess safely, stay out of the wet zone until power is shut off. Don’t step into standing water where electricity may be present. If the leak came from a fixture supply, appliance line, or plumbing break, shut off the local valve or the main water supply right away.
Use this quick triage:
- Clean water from a supply line: Usually more manageable if caught quickly.
- Water from an appliance overflow or unknown source: Treat with more caution.
- Water with sewage or storm contamination: Don’t try to clean this yourself.
Wet materials are a property problem. Unsafe water or electrical exposure is a life safety problem.
Remove bulk water fast
Once the area is safe, start pulling out as much water as possible. Mops, towels, and a wet/dry vacuum are useful for small losses. For larger areas, immediate extraction matters because the longer water sits, the farther it wicks into drywall, subfloors, cabinets, and trim.
According to IICRC S500 guidance summarized in this water extraction and material triage reference, immediate extraction is meant to reduce saturation by 90% within the first 4 hours. That same source explains why saturated porous materials such as carpet padding and insulation are so problematic: they can retain over 20% moisture even after drying attempts, leading to 100% mold penetration inside wall systems. It also notes that 85% of partial remediation efforts fail without complete removal of those saturated porous materials.
What to remove in the first pass
Don’t start with sentimental items or deep cleaning. Start with the things that keep water trapped.
- Lift and remove soaked rugs and loose textiles: Take them out of the wet zone so they don’t keep feeding humidity back into the room.
- Pull wet contents off the floor: Books, cardboard boxes, pet beds, laundry baskets, and paper goods hold water and restrict airflow.
- Target carpet pad and insulation early: These are common mold reservoirs because they stay wet inside even when the surface feels better.
- Open affected cavities only when needed: If water traveled behind baseboards or under cabinets, concealed moisture is often part of the loss.
For larger events, homeowners usually require emergency water removal for flooding and burst pipes, because the challenge is no longer cleanup. It’s extraction at a pace that keeps mold from taking hold.
Achieving a Thoroughly Dry Environment
Removing standing water is only the beginning. Mold doesn’t need a puddle. It needs moisture that remains available long enough inside materials or in the air.
Why Florida homes are harder to dry
Florida homeowners run into the same trap over and over. They remove visible water, open a few windows, point household fans at the floor, and assume time will do the rest. On the Suncoast, that approach often pulls humid outdoor air into an already wet structure.
The EPA recommends keeping indoor relative humidity below 60% to prevent mold. In high-humidity areas like the Florida Suncoast, where ambient relative humidity often exceeds 75%, professional-grade dehumidification becomes central to drying, according to this humidity control and drying guidance. The same source reports that a NIOSH study found dehumidifiers and air movers cut secondary mold outbreaks by 82%, while simple ventilation failed in 60% of cases. The structural target in that source is drying to below 12% moisture content.
Airflow and humidity have to work together
Fans alone move moisture around. Dehumidifiers remove it from the air. You need both if you’re trying to prevent mold instead of just making a room feel less damp.
A practical setup looks like this:
| Tool | What it does | Common mistake |
|---|---|---|
| Wet/dry vacuum | Removes bulk water from floors and low spots | Using it as a substitute for full drying |
| Air mover or fan | Pushes air across wet surfaces to speed evaporation | Blowing air into a closed, humid room with no moisture removal |
| Dehumidifier | Pulls water vapor out of the air | Running too small a unit for the affected area |
| Moisture meter or hygrometer | Verifies drying progress | Relying only on touch or appearance |
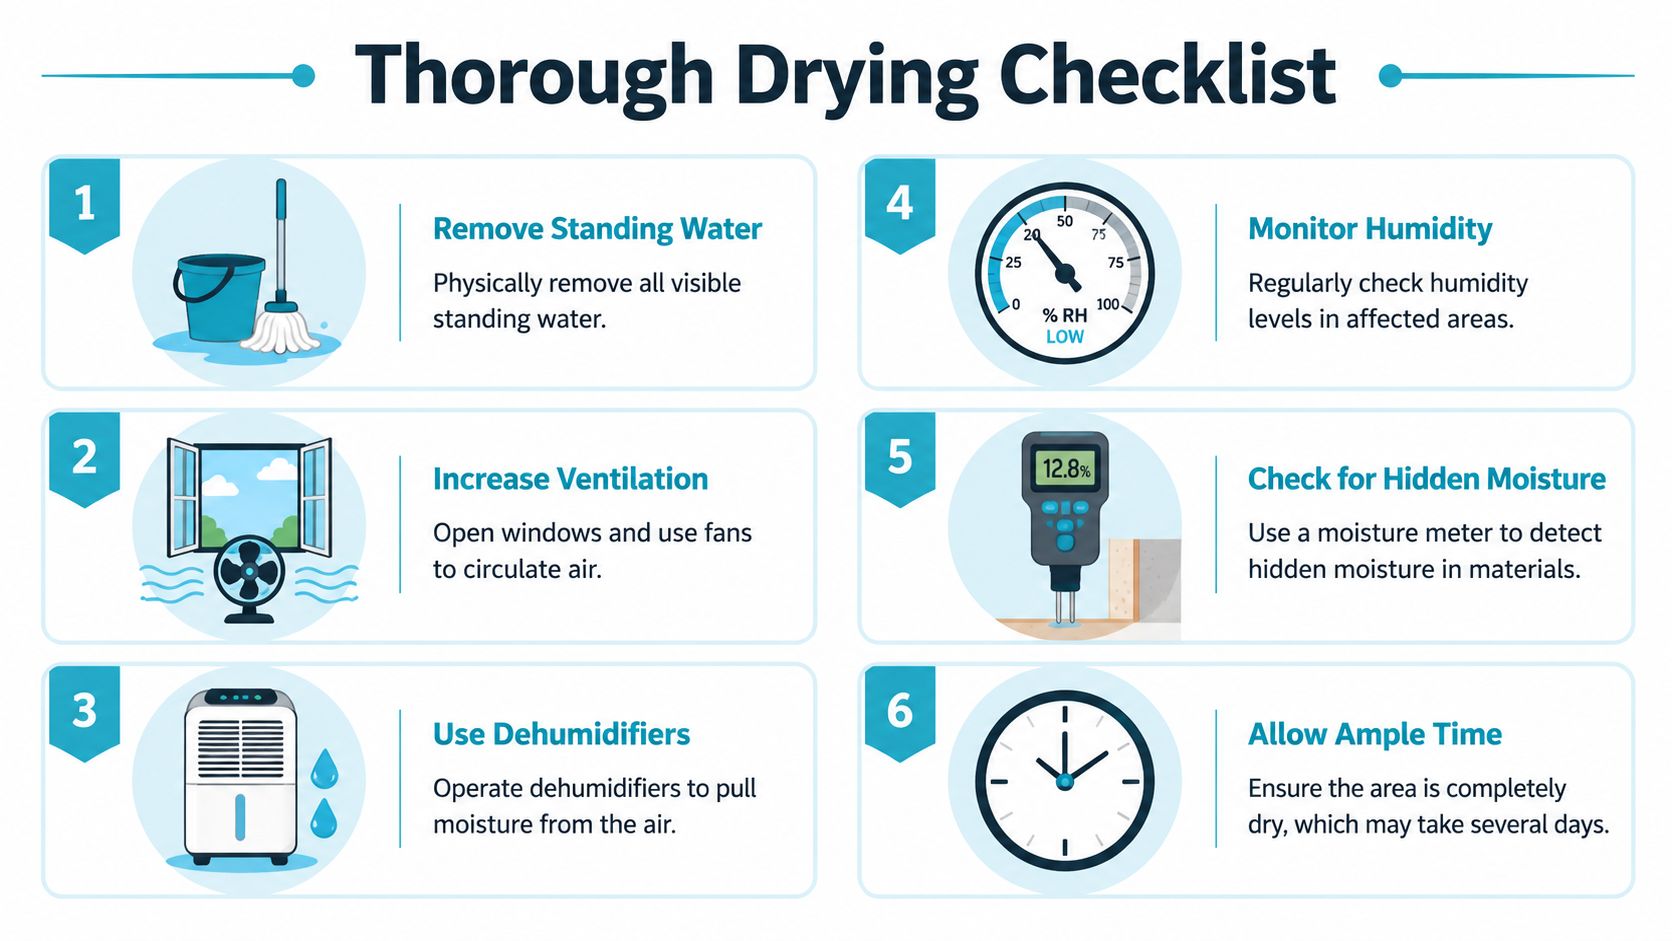
A homeowner drying checklist
- Create directional airflow: Point fans across wet surfaces, not randomly into the room.
- Close or open windows based on conditions: If outside air is more humid than indoor air, opening windows can slow drying.
- Run a dehumidifier continuously: Empty the tank often or set up drainage if the unit allows it.
- Check hidden areas: Under vanity kick plates, behind baseboards, inside closets, and around HVAC returns.
- Keep doors open where moisture needs to escape: But isolate spaces if contamination is involved.
Surface dry isn’t the same as structurally dry. Drywall paper, subfloor seams, and bottom plates can stay wet after the floor looks normal.
If the affected area includes walls, flooring assemblies, or cabinetry, drying time depends on what absorbed water and how far it traveled. This overview of how long water damage restoration takes helps frame what a realistic drying process looks like.
What usually fails
Two things fail most often in Florida homes. The first is underpowered drying equipment. The second is no verification.
A box fan may help a bathroom floor. It won’t tell you whether the wall cavity behind the vanity or the engineered wood underlayment is still wet. If you can’t measure the environment and the material, you’re still guessing.
Sorting Damaged Items Cleaning and Disposing
Once water is out and drying is underway, the next decision is what can stay, what can be cleaned, and what needs to leave the house. The choices made then often predetermine many mold problems in the recovery process.
Sort by material, not by appearance
A material’s structure matters more than how it looks after a leak.
Non-porous items
Glass, metal, and many hard plastics can usually be cleaned and dried if the water source was clean. Wash with a mild detergent solution, rinse if appropriate, and dry fully before returning items to the area.
These materials don’t readily absorb water into their core. That makes them much more forgiving.
Semi-porous materials
Finished wood, some laminates, and certain furniture components fall into a gray area. They may be salvageable if the leak was caught early and the material hasn’t swollen, delaminated, or stayed wet for long.
Check for these warning signs:
- Raised grain or swelling: Often means moisture got beneath the finish.
- Musty odor after drying starts: Suggests moisture remains trapped.
- Staining at joints or seams: Water often sits longest there.
Porous materials
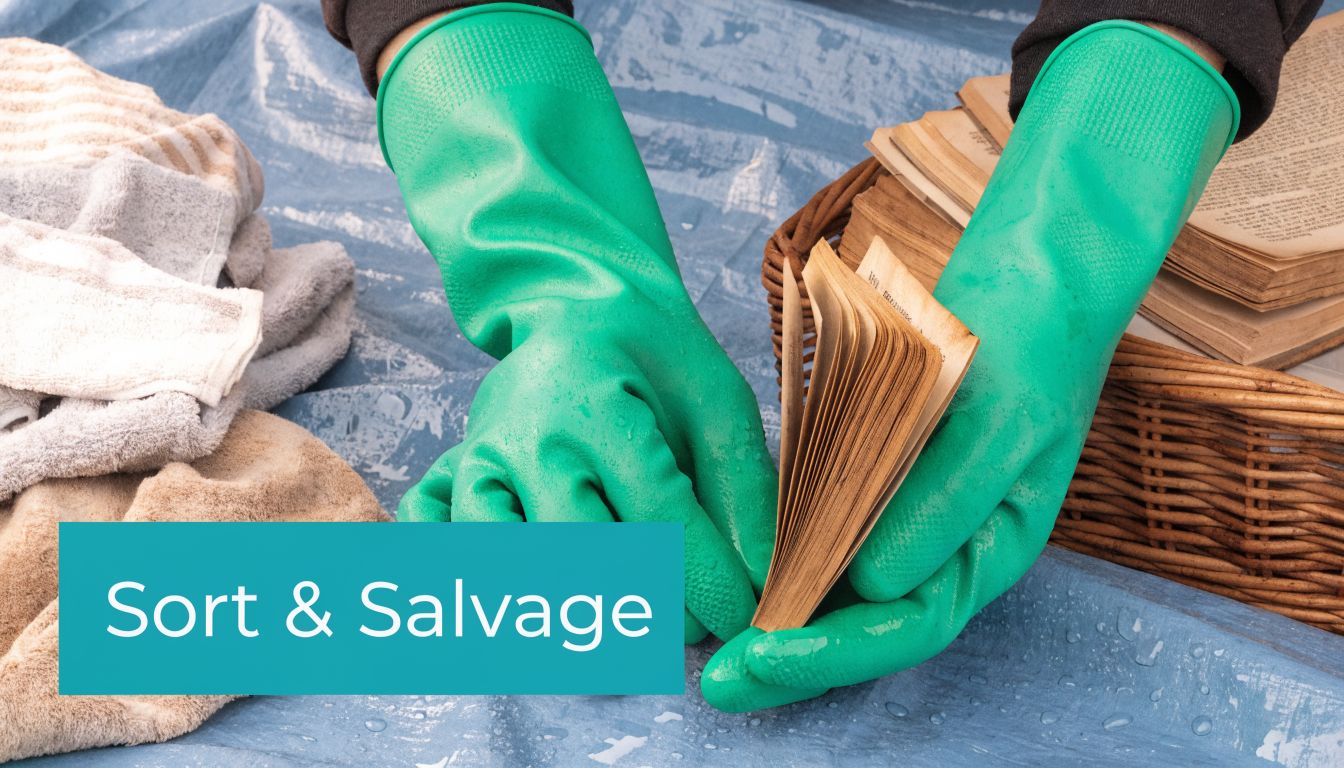
Drywall, insulation, carpet pad, ceiling tile, cardboard, and many upholstered contents are the highest-risk category. These materials hold moisture internally and are difficult to dry evenly.
If they’re saturated, especially after more than a brief exposure, removal is often the safer decision. Trying to save them can leave hidden wet pockets that restart the problem later.
A simple keep-or-discard guide
- Keep and clean: Tile, sealed stone, metal shelving, glass décor, hard plastic bins
- Evaluate carefully: Wood furniture, baseboards, cabinets, laminate trim
- Usually discard if saturated: Carpet pad, insulation, drywall sections, pressed-wood components, books, cardboard storage boxes
If an item smells musty after cleaning and drying, don’t ignore it. Odor is often your first warning that moisture remained too long.
Cleaning without making it worse
Use detergent and water on salvageable hard surfaces. Wipe, rinse as appropriate, and dry thoroughly. Don’t soak already stressed materials during cleanup.
Avoid the common mistake of focusing on disinfecting before the material is dry enough to stay clean. If moisture remains, the cleaning step won’t solve the underlying issue. Drying and removal decisions matter more than cosmetic cleanup.
When to Call a Professional Mold Specialist
There’s a point where a leak stops being a homeowner cleanup job and becomes a restoration and mold-risk job. Waiting too long at that point usually means more demolition later, not less.

The red flags that matter most
Call a professional when one or more of these conditions apply:
- The leak went unnoticed for a while: Hidden leaks behind walls and under flooring almost always spread farther than expected.
- The affected area isn’t small and isolated: Once multiple materials or rooms are involved, drying strategy changes.
- There’s a persistent musty odor: That usually means moisture or mold is still present where you can’t see it.
- HVAC was involved: Air handlers, ducts, returns, and vented cavities can spread contamination beyond the original leak zone.
- Occupants have asthma, allergies, or respiratory sensitivity: You want a controlled response, not trial and error.
- Water was contaminated: Sewage, storm water, and unknown-category water require specialized handling.
Why professional equipment changes the outcome
Professionals don’t just bring stronger fans. They bring a process. That includes moisture mapping, controlled demolition where needed, commercial extraction, dehumidification, air movement, and verification that materials are dry enough for repair.
This matters most when the leak touched carpet assemblies, wall cavities, built-ins, or HVAC-connected areas. Rug and textile contamination is its own challenge, which is why homeowners dealing with soaked floor coverings may also find this guide to Professional mold removal for rugs helpful for understanding when cleaning is realistic and when replacement is safer.
A practical threshold for getting help
If you’ve already started cleanup but any of the following is still true by the next day, stop guessing:
| Sign | What it suggests |
|---|---|
| Drywall still cool or damp at the base | Moisture may remain in the cavity |
| Flooring feels cupped or soft | Water likely reached beneath the surface |
| Odor gets stronger when the house is closed up | Hidden dampness is still feeding microbial growth |
| Condensation returns after cleaning | Humidity control is not adequate |
For a clearer sense of when DIY should end, review these signs that indicate you need professional mold removal.
Insurance Documentation and Florida-Specific Prevention
The best water-loss documentation starts before cleanup gets far. If you can do it safely, take photos and video of the source, the spread of water, wet materials, affected contents, and any visible staining, swelling, or delamination. Then keep a simple written log of what happened, when you found it, what steps you took, and what was removed from the property.
Document like an adjuster will need to understand it
Useful claim documentation is organized, not dramatic. A good record includes:
- Overview photos: Show the full room before items are moved.
- Close-up photos: Capture damaged trim, flooring edges, cabinet bases, and ceilings.
- Itemized notes: Record what was wet, what was discarded, and why.
- Receipts and emergency expenses: Keep rental, hotel, cleanup supply, and mitigation-related paperwork together.
If you need help understanding the paperwork side, this guide on how to file an insurance claim for water damage is a useful starting point.
Florida prevention is different from generic prevention
A lot of standard advice assumes the building can be aired out. On the Suncoast, that can backfire. Florida’s year-round humidity commonly sits in the 70% to 90% range, which can prolong drying and accelerate mold growth in hidden spaces such as crawlspaces and HVAC ducts, according to this Florida humidity and post-leak drying guidance. The same source notes that IICRC S500 practices for high-humidity zones call for commercial dehumidification and moisture-meter verification that wood is below 16% moisture content before rebuilding, and states that this step prevents 30% of secondary HVAC mold outbreaks reported in Florida post-leak cases.
Smart habits for Gulf Coast homes
Long-term prevention in Bradenton, Sarasota, Lakewood Ranch, and nearby coastal communities comes down to controlling moisture before the next leak happens.
- Monitor indoor humidity year-round: Don’t wait for storm season.
- Inspect under sinks and behind appliances regularly: Small leaks often stay hidden until damage spreads.
- Service HVAC systems on schedule: Condensate issues and duct moisture can turn a minor leak into an air-quality problem.
- Check attic and roof transitions after heavy rain: Wind-driven storms often push water where homeowners don’t look.
- Don’t rebuild over questionable materials: Verify dryness first.
In Florida, rebuilding too early is one of the costliest mistakes after a leak. Fast repairs are good. Premature repairs are not.
Restore Your Property and Peace of Mind with AMPM Restoration
Knowing how to prevent mold after a water leak comes down to one principle: act fast, and dry thoroughly. Quick cleanup helps, but Florida’s humidity changes the rules. Moisture lingers longer here, hides deeper, and spreads more easily into wall cavities, flooring systems, and HVAC-connected spaces.
If your leak affected drywall, carpet, cabinetry, ceilings, or multiple rooms, getting certainty matters more than getting optimistic. Proper extraction, controlled drying, moisture checks, and informed removal decisions protect the house you’re standing in now and the air you’ll be breathing in it later.
If flooring took the hit, homeowners often also want a practical look at repair options for wood, laminate, and other surfaces. This guide from Flacks Flooring is a helpful companion resource on what water-damaged floor recovery can involve.
For homeowners and property managers in Bradenton, Sarasota, St. Petersburg, Lakewood Ranch, Tampa Bay, and surrounding Gulf Coast communities, AMPM Restoration is available 24/7 from 4301 32nd St W b18, Bradenton, FL 34205. Call 941-946-7807 for a free inspection and estimate. AMPM Restoration also provides insurance claim assistance and financing options to make the process easier when you need help fast.
Frequently Asked Questions About Mold Prevention
Can mold grow from one small leak?
Yes. A small leak can still create a mold problem if it wets drywall, wood, carpet pad, insulation, or other porous materials and they stay damp long enough.
Should I open windows to dry the house?
Sometimes, but not automatically. In Florida, outside air is often humid enough to slow drying. Use windows strategically, not by default.
Is bleach the best way to prevent mold?
Not usually as a primary strategy. Drying, removal of unsalvageable porous materials, and humidity control are more important than trying to chemically treat everything.
How do I know if a wall is still wet?
Touch isn’t enough. Baseboards, drywall bottoms, and framing can hold moisture after the surface looks normal. A moisture meter is the reliable way to check.
Can I save wet carpet?
Sometimes the surface carpet can be evaluated, but saturated padding is a common problem area because it traps moisture. If there’s odor, long exposure, or contamination, replacement is often safer.
Why does the house still smell musty after cleanup?
That usually means moisture remains in a hidden area or a material stayed wet too long. Common locations include wall cavities, under flooring, inside cabinets, and around HVAC components.
If you’re dealing with a leak right now and need clear answers, call AMPM Restoration Services at 941-946-7807 for a free inspection and estimate. We serve Bradenton, Sarasota, Tampa Bay, Saint Petersburg, Lakewood Ranch, and surrounding Gulf Coast communities with 24/7 emergency response, insurance claim assistance, and financing options to help you move from damage control to full recovery.